A cracked kitchen countertop can be frustrating. Not only does it affect the appearance of your kitchen, but it can also lead to bigger issues like water damage or structural weakness if left untreated.
The good news is that many countertop cracks can be repaired at home with the right tools and methods. In this guide, you’ll learn what causes cracks, how to fix them, and when it’s time to consider a replacement.
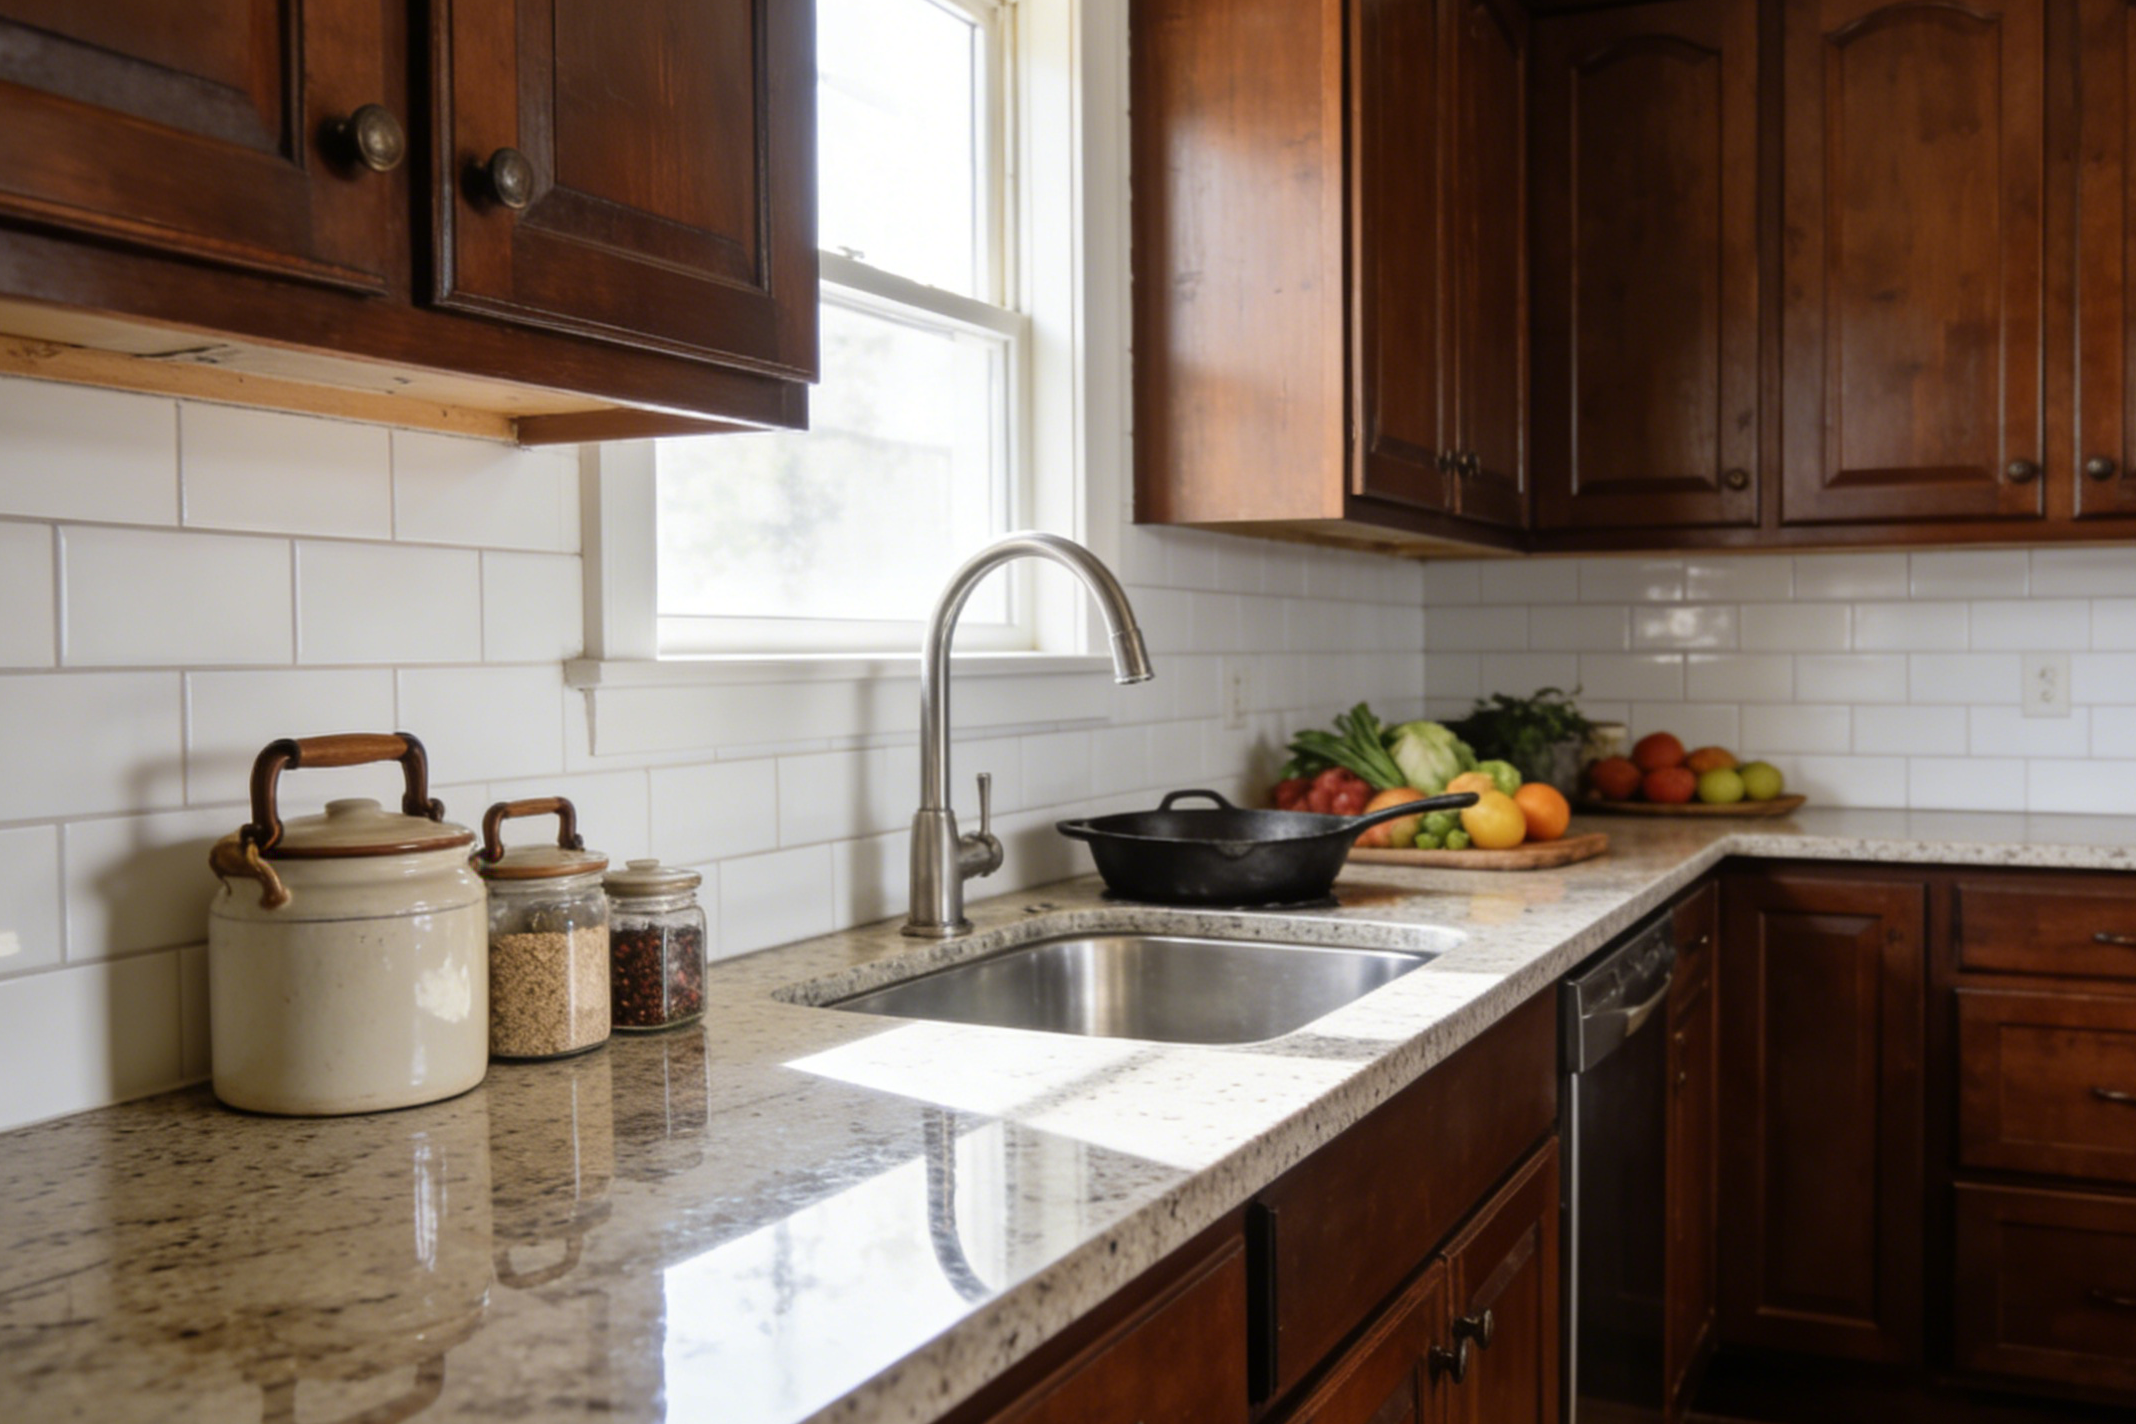
Consider Upgrading Your Sink During Repairs
If the crack is located near the sink area, this may be the perfect time to reassess your kitchen setup. Many homeowners take this opportunity to upgrade to a more durable and functional sink, such as a stainless steel model or a farmhouse apron sink, to enhance both performance and style.
What Causes Countertop Cracks?
Understanding the cause of the crack can help you prevent future damage. Here are the most common reasons:
1. Impact Damage
Heavy pots, pans, or appliances dropped onto the surface can create chips or cracks instantly.
2. Thermal Shock
Placing hot cookware directly on a cold countertop can cause rapid expansion and contraction, leading to cracking—especially in stone surfaces.
3. Improper Installation
If the countertop lacks proper support, stress points can develop over time and eventually crack.
4. Stress Around Sink or Appliances
Areas near sinks and cooktops are under constant pressure and are more likely to develop cracks.
5. Natural Weak Points
Stone materials like granite or quartz may have natural veins that are more prone to damage.
Tools and Materials You’ll Need
Before you start, gather the following tools:
Epoxy resin or countertop repair kit
Putty knife
Razor blade or scraper
Fine-grit sandpaper
Clean cloth
Painter’s tape
Color-matching filler (for stone surfaces)
These materials are easy to find at most home improvement stores.
Step-by-Step: How to Repair a Cracked Countertop
Step 1: Clean the Area
Begin by thoroughly cleaning the damaged section. Remove grease, dust, and residue using a household cleaner or rubbing alcohol.
A clean surface ensures better adhesion.
Step 2: Prepare the Crack
Use a razor blade or scraper to gently open the crack if needed. This allows the repair material to penetrate deeper.
Be careful not to apply too much pressure.
Step 3: Apply Epoxy Filler
Fill the crack using epoxy resin, which is durable and water-resistant.
Use a putty knife to push the material into the crack and slightly overfill it.
Step 4: Smooth the Surface
Before the epoxy hardens, smooth out the surface with your tool.
For stone countertops, you can blend the repair using a color-matching filler.
Step 5: Let It Cure
Allow the epoxy to fully cure—this usually takes about 24 hours.
Avoid using the countertop during this time.
Step 6: Sand and Finish
Once hardened, lightly sand the area with fine sandpaper until smooth.
If needed, apply polish to restore the original shine.
When Should You Replace the Countertop?
Not all cracks can be repaired. You may need a full replacement if:
The crack is large or spreading
The surface feels uneven or unstable
The damage is near a sink cutout or appliance opening
Water has weakened the cabinets underneath
In these cases, replacing the countertop is often the safest long-term option.
Tips to Prevent Future Cracks
To keep your countertop in good condition:
Use heat pads or trivets for hot cookware
Avoid dropping heavy objects
Make sure sinks and appliances are properly supported
Clean spills promptly
Perform regular maintenance
Final Thoughts
Fixing a cracked countertop is often a simple DIY project if the damage is minor. With the right tools and careful steps, you can restore both the look and function of your kitchen surface.
However, for more serious damage, investing in a replacement—or upgrading key features like your sink—can provide better long-term value.